There's Magic Out There: imagination
Showing posts with label imagination. Show all posts

February 21, 2013

Central Library Play and Learn 2013

Here we are back again at Play and Learn! We had really been missing our weekly visit downtown to Central Library. A lot had been going on and we had not been able to make it. Luckily we are getting back into our routine! We only got to make it to one session in January and this Play and Learn was under the Sea themed (munchkin loves sea life and I bet your kiddos do too!). 

Here's a glimpse of the fun we had:

Munchkin with Tia reading before Play and Learn starts
At the beginning of every Play and Learn they always read the kiddos a story to go along with the theme of the day. 
Next they bring out the fun and let the kids loose to explore the various activities of the day. They had stuffed animal sea creatures for the kiddos to use there imagination and play with.
They had sensory bottles that represented the beach sand, the waves from the ocean, rocks, pebbles and shells. These are always fun and easy to make at home.
They also had plenty of rubber/plastic sea creatures that munchkin had a blast with! He was playing with the shark while doing the Jaws theme. 
They had a boat made out of a cardboard box and had an area for the kids to go fishing for the alphabet. This is lots of fun and a great opportunity to do some letter learning in a creative way. 
They had it so you could match up the lower case with the upper case letters
This giant sheet of paper was set up so you could make your own seahorse and put it in the ocean along with its buddies. It was very cute! 
On our way out from having fun each kiddo could pick up a treat (treasure) to take home with them to keep! My munchkin was so happy with his treasure. 
We had lots of fun and were sad to go home. Munchkin always feels bad when its over but hes happy when I tell him we can go again next week! Play and Learn is Free to all! There is no registration so just show up ready to have fun with your kiddos.  

Right now there are Play and Learn sessions going on every Tuesday 10 am- 11:30 am through March 12 at The Woodlawn Lake community Room and every Friday 10 am -11:30 am through March 15 at Westfall Branch library

Check out our Play and Learn visits at Central Library from 2012: (They each were a different theme to learn that day)

Visit #1 Welcome!
Visit #2 Body parts, bones themed
Visit #3 Animal themed
Visit #4 Music themed
Visit #5 Halloween themed
Visit #6 Home themed
Visit #7 Dinosaur Day!
Visit #8 Building themed
Visit #9 The 5 senses themed

Follow on Bloglovin

February 16, 2013

Project 52: Week 7

Project 52: Week 7

This past week was all about Love in this house. We made Valentines and Valentine treat bags. We went to Play and learn at Central library where the theme was Red for Valentines day! Then of course the big day came and we played with chalk outside making hearts.

We had a pretty great week. How was your week? Did you have a good Valentines day? Hope your week was filled with Love like ours!

Plus If you have not yet checked out my first time at Gummy Lump then head on over and see my Indoor Zoo Craft made with paper plates. I made a Lion, giraffe, bear and turtle with my munchkin so we could play indoors during winter. I hope your munchkins have fun with it! 
Are you doing a Project 52? Even though we are in February that doesn't mean you cant still start yours up. Share yours with me! 

Follow on Bloglovin

February 14, 2013

I'm Over at Gummy Lump today!

Hi there everyone! I am so excited to announce that I am over at Gummy Lump Today! I am so happy to be able to share with you my Paper Plate Zoo
I am so Thankful to them for having me over to be able to share some fun with others. I made a craft using paper plates to make your own Indoor Zoo! This is a great craft for kids to do when they cant go play outside when its cold but don't let that stop you! You can make your own Zoo and play with it outside too no matter what the weather may be! 

So please stop on over at Gummy lump today and Say Hi! Hope you enjoy the craft and have fun making one with your kiddos! 

Follow on Bloglovin

January 28, 2013

Potato Heart Print Valentines

Here at the house we have been getting excited for Valentines Day. The house was feeling a little empty without all the decorations and tree so we started with some Valentines decorating and this weekend we made some easy to do Valentines Cards.

I don't know if you remember but we used potatoes to make Heart prints last year while learning about the Letter H and I wanted to use that idea to make Potato Heart Print Valentines!

Its super easy to do, you get a potato and cut into it to make a heart (I did one on each end), grab some paint and paper and have fun making some prints! This weekend was so sunny that we had to go outside and soak up the sunshine so I took out a table and our materials to do the prints outside.
After we made lots of hearts we let them dry and enjoyed being outside on such a beautiful winter day.

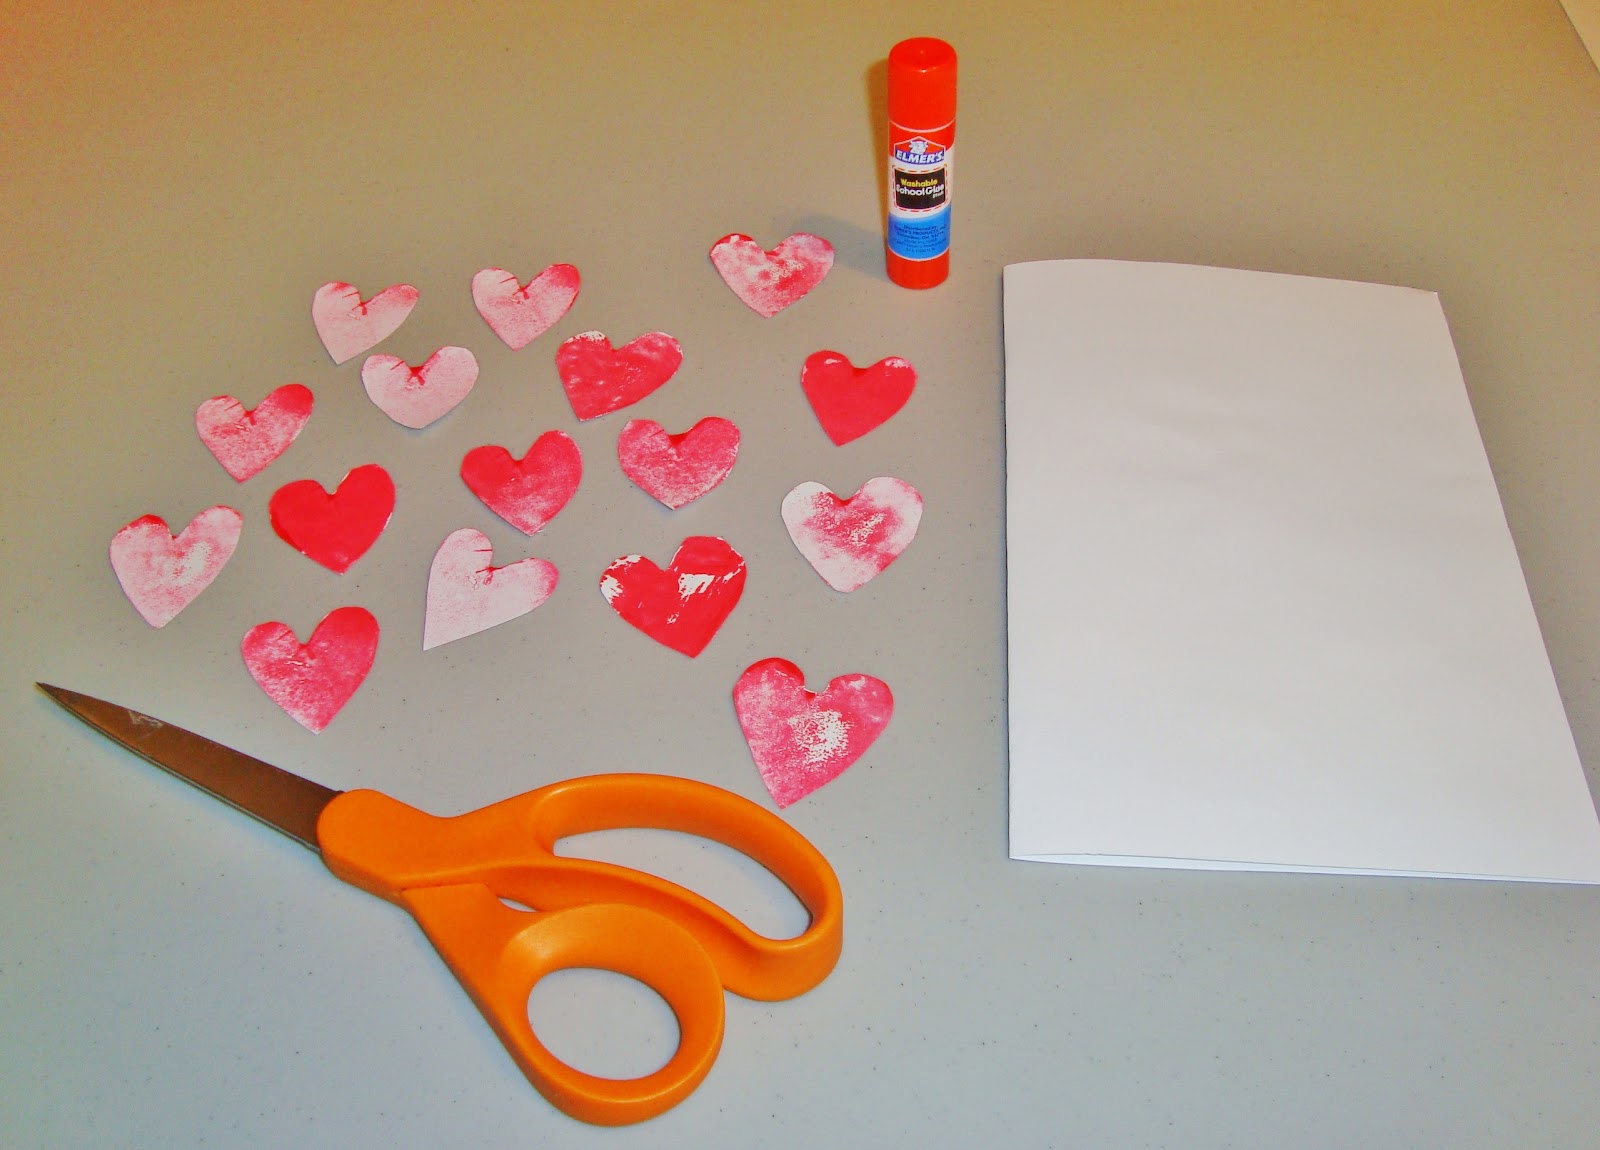
Later during the day I cut out a bunch of the hearts in various shades of red and got paper and a glue stick to decide where I wanted them to go. You can put them inside, outside, everywhere! They all look pretty, trust me and its fun for the munchkins to be sticking them everywhere.
I then took out my stamps and started making some messages on the cards. You can always use markers or crayons to write out a special message if you don't have stamps.
They will be a special Home made treat for your loved ones and they are super easy to do so. Hope you make some of your own and have fun while doing them!


Need some ideas on Valentines Decorations?
Check out the two DIY Valentines crafts I made this year here:

1. Valentines DIY Heart Wreath
2. Valentines DIY Heart Wall Decor

And dont forget to check out my Valentines Day Pinterest Board for lots of other fun ideas!


To make sure you dont miss out any new ones Follow me!

Hope you have a great Valentines day with your loved ones!


Follow on Bloglovin

January 27, 2013

DIY Vision/Inspiration Board

Over two weeks ago I started my Vision Board, I was almost finished with it when my dads health scare happened so it was put on hold. It also made all the things that I want for more my future that much more clear and serious.

If your wondering... What is a Vision board? A Vision Board is a board that you put your goals on to. You can do this in a variety of ways but the result you want is a place where you can see the things you are working for, dreaming of and pushing for. It helps you as a reminder to not give up, to keep going forward. Inspirational words to keep up your spirits. I have heard a lot of people who highly recommend it and I thought why not? I have nothing to lose and lots to gain so I made one to help me in 2013.

Here's How I made my Vision Board:


I Hope this helps me on my journey this year. Let me know if you make one and how it works out for you. Lets help each other on this journey to make our goals happen this year!

Follow on Bloglovin

January 12, 2013

DIY Heart Wall Decor

This past week I made two Valentines Crafts out of empty toilet paper rolls, the first was this one actually but I ended up posting the DIY Heart Wreath first. I am so in love with this Heart because it has been up on the wall the whole week and adds a great touch to the room.

Here's how you can make one for you:

Materials:

4 to 5 empty rolls of toilet paper to be on the safe side
paint with paintbrush
scissors
hot glue gun with glue
old newspaper to cover your work area

Directions:

Lay out your newspaper and decide how big of a heart you want to make. My first time making this I cut the toilet paper rolls first and made the design to see how it would look but now having done 2 of these I recommend you to please paint the toilet paper rolls first and let them dry. It is so much easier if you paint first!

After the paint is dry cut each toilet paper roll into 5 pieces as even as possible. Recreate the shape now and start hot gluing

Let the glue hold tight and admire your Heart! Hang it up to make a statement of love on your wall and ta-da! Valentines decor on your wall is done!


Check out my other Valentines craft I made this week here:
DIY Heart Wreath
Thanks for stopping by and hope you are having fun crafting and getting ready for Valentines day!
Follow on Bloglovin

January 08, 2013

Valentines Day DIY Hearts (Recycled Toilet paper roll crafts) Wreath

Just yesterday we finished picking up all the Christmas decorations and now there is about a month left until Valentines day! Yep, hard to believe it but Valentines Day is almost here and its a perfect reason to get the house out of the ordinary(boring right now that there's no decorations) to being in the Valentines Lovey dovey mood.

I wanted to make something with materials found at home so I used toilet paper rolls to create this special hanging decor.

Materials:
  • Toilet paper rolls (5 to be on the safe size)
  • paint and paintbrush
  • scissors
  • colorful paper or plain white paper to color on
  • glue stick
  • glue gun with glue
  • newspaper to layout to cover your work area while painting
Directions:

Start by painting your toilet paper rolls inside and out so that the color you choose will be on evenly because if you do this after it is too hard to get in the creases (trust me) Put them off to your side to air dry. I drew on the newspaper my circle size I wanted so I could use it to estimate how many toilet paper rolls I would need to cut and to base my heart size off of so that when I did add the hearts it would be sized appropriately.
While the paint dried I used some scrap paper to freehand hearts in different sizes. I then cut out those hearts and traced the shape onto scrapbooking paper I had (you could also use regular white paper and color the hearts in with markers/crayons and put cute words), cut and glued them onto cardboard to make it more sturdy. Then cut those out to use
When the paint was dry I cut the rolls into 5 pieces each as even as I could. I then laid them out to how my circle would fit. I then began gluing the toilet paper roll pieces end to end with my hot glue gun carefully holding them into place to bend them into the circular shape
After I had made my circle I let it rest to dry so as to not add weight to it too quickly. I then hot glued on my hearts and let it get sturdy. I hanged it up on my wall with simple thumb tacks in 3 locations to balance the weight.
I'm happy with the final product. I used things I had already available at home and I'm happy to use something as ordinary as a empty toilet paper roll and give it new life. Its always good to re-purpose things so I keep boxes and containers because at the end of the day its free crafting supplies and who doesn't love free?

Hope this got you in the Valentines mood! To check out another fun DIY Valentines craft head over to Mean baby to check out a DIY Valentines Day Banner ! This is a Blog circle so if you follow along blog to blog you will see links to other blogger fun DIY Valentines crafts.

Don't forget to check out My Valentines Day Pinterest board for more Inspiration! 

Check out my other Valentines Day Heart Decor 
Happy Crafting!  
Follow on Bloglovin

Yesterday

Yesterday down came all the decorations! Yep, the Christmas decorations that took hours to put up (mainly lights took a long time to hang) came down in a matter of minutes. Its sad when Dia de Los Reyes passes and the holiday season is over. In our family, tradition is that we keep everything up until Dia de Los Reyes.
What is Dia de los Reyes (3 Kings Day)? Its celebrated January 6th of every year and commemorates the arrival of the 3 wise men who brought gifts to baby Jesus. Its even more special in our house because its also my moms birthday. Yep! She is a Dia de los Reyes birthday baby. I think its pretty awesome because my moms name is Reyna and Reyna means Queen. So on the day of the 3 kings my mother a "Queen" was born. Too cute huh? We also celebrated the birth of a dear friends newborn who was also born on January 6th this year. She got named Reyna too! My mom found out and got so excited that another Reyna is in this world!

Well now the house isn't as colorful without all the decorations. I cant wait to start decorating for a new season/holiday (valentines?).

I leave you with the cutest picture ever from yesterday... my son was playing with one of our cats and when I say playing I mean literally he gave the cat toys to join in with him in playing. The cat didn't seem to mind actually. I think she just loved the attention.


December 28, 2012

Not your typical Gingerbread house (Cardboard Box fun)


This week while getting ready for Christmas munchkin kept asking to make a gingerbread house. Well he doesn't like gingerbread or much of any candy really (except chocolate) and I didn't want to make one and then have it be wasted so I decided to think of a way to have him get his house without the waste. That's when I saw what we had at home to use and it came out great!

Materials:
  • 2 Cardboard boxes (I used pull up boxes)
  • glue/glue stick (glue stick works best)
  • heavy duty tape
  • multi colored paper
  • scissors
  • ruler
  • Christmas coloring books
  • plain white paper
  • colors/markers/color pencils
Instructions:
  1. Take your boxes and cut them at every major crease
  2. Look at all your pieces of cardboard and imagine the size you want to achieve for your house. I personally wanted it big and didn't want to have to measure too much so I kept the sizes pretty as is long wise.
  3. I then measured the main piece that would become my front of house with a ruler long wise so as to find the center point. Then I decided how tall I wanted it so i could make my border for the roof edges.  I used the center point to make the lines for cutting the triangular shape out evenly. Then cut it out according to the lines.
  4.  I then got the 2nd piece of cardboard and traced the first front piece onto that piece, cut it out and that became the back of the house.
  5. For the 2 sides of the house I measured the height of the corner before the roof starts on the front piece and made the 2 side pieces into rectangles to match the houses height.
  6. I then used the heavy duty masking tape to tape  all 4 pieces together on the inside. I then traced along the edges of the bottom floor of the house on to a piece of cardboard  and cut it out and taped it onto the rest of the structure making it the floor base.
  7. I measured with a ruler the length across from the back of the house to the front of the house where the gap for a roof was and cut a rectangle to to cover the left and then another to cover the right and made sure that when held together they closed up as a roof evenly. Then it was taped in place.
  8. The rest of this is now mainly aesthetic. my box looked pretty good because I kept the cardboard pieces design on the inside of the structure as well as most of the tape. You can decorate it as you wish with various Christmas odds and ends that you may have had as leftovers from wrapping and decorating.
  9. I used colored paper to make roof shingles that I saw here in a cute pattern. I cut them out and me and munchkin put them on the roof with a glue stick. I then used a solid color to cover the tip of the house so as to hide the cardboard.
  10. For all 4 sides of the house I used white paper trimmed to size to cover the cardboard and give it a more clean look (glue stick works best).
  11. Finally I made details such as windows and doors.
  12. The last and the funnest part you can do with kids of any age is coloring! Grab some Christmas coloring books and color fun stuff. I found various coloring pages of candies, presents and Christmas trees and more to color with my munchkin. I then cut them out and glued some on as scenery's around the house. I then kept some just for the use of fun! I put a piece of not so sticky double sided tape on the back of Santa and other Christmas items such as gingerbread men so that he could just put them on and off of the house on various scenes. It was too cute and he loved it!


Keep in mind that you can make your house into any theme you want. One for Easter with a bunny and eggs to hide all over or a haunted house for Halloween. *future craft idea*

Happy Crafting & Happy Holidays from my family to yours!

My inspiration came from Say Yes To Hoboken

Follow on Bloglovin